Saturday, September 27, 2008

Trimming a Tall Vase

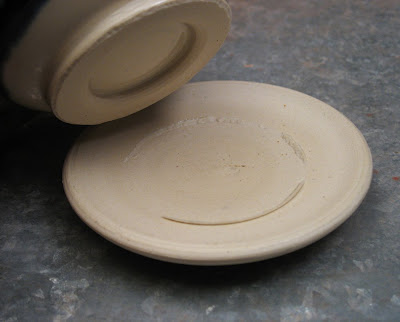
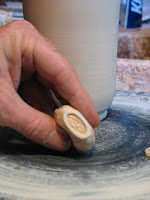
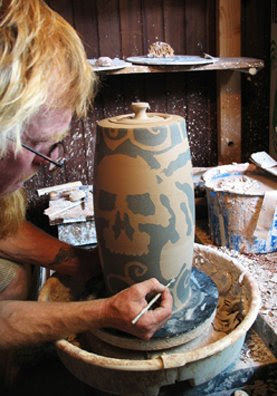
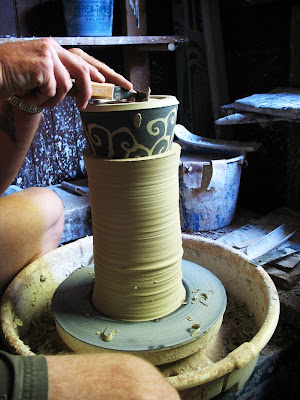
This is a quick view of how I trim the foot on a tall narrow necked vase.
To get the piece supported well enough to apply the pressure needed to make my cuts, I throw a thick walled trimming chuck to hold the inverted piece steady. I try to let the fresh chuck set up for a few hours before using it. When I'm ready, I simply invert the vase into the opening of the chuck, level and center the ware and start trimming.
The leather hard chucks are reusable. I simply leave it on it's throwing bat and bag it up well to keep it at a leather hard state. I try to set-up my work scedual to make use of a freash trimming chuck. I cut freash stencils, gather supplies, and throw as much work as I can juggle to finish without loosing control, (not often easy with 2 kids).
Once I'm finally finished using a trimming chuck, it's left to dry out and broken up and put in my bucket of clay scrap for recycling.

Ta Da!!

Wednesday, September 24, 2008

Finished Prototype BudVases

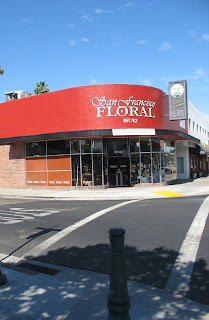
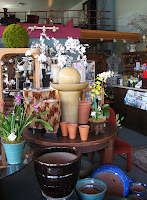
Jenny-Faye Klooster, the successful owner of Avant Garden, and now the new owner San Francisco Floral, had requested a small series of prototype budvases from FetishGhost for her storefront on the Miracle Mile in Stockton California. Jenny had been looking for a local ceramicist to work with to provide something special that could be tailored specifically to her business. She needed access to a studio that could produce gallery quality handcrafted ceramic art works that could fit her needs as a florist. My studio is literally right around the corner from her shop and we really hit it off on the first meeting. She's very supportive of the local arts and has all of faith in what our collaboration can produce.


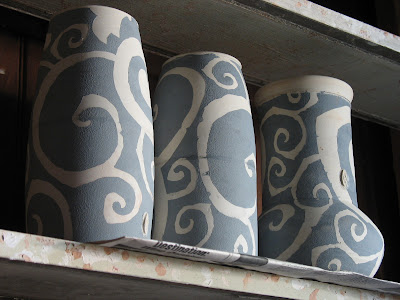
It took only 2 weeks turn around from Jenny's request for sample prototypes to delivering the finished pieces. I created 3 sample works to show her, and WoW!!! They came out of the kiln looking fantastic!

These are beautifully rich glaze combinations that really worked well. She loved the surprise as well... as a result, I've got a new patron for the studio!


The optics in the glaze on this series are gorgeous! The white glaze breaks beautifully over the blue hares fur glaze at the rim on this vase.


I've got a good feeling about this....I'm already working on the next series.

Tuesday, September 23, 2008

"Living Life on the Learning Curve" or "Anouther Day of Doh!"

All right, so a good part of Monday was spent prepping the kiln, glazing bisque ware, and then came a typical long night of burning expectations while the kiln fires.

Well... I'm often the one who points out that if you aren't messing stuff up, you aren't trying hard enough.

Yeah I know, it's probably not a great catch phrase to run a business by, it is an excellent motto to investigate a process with. Still... it can get pretty frustrating sometimes, but sometimes the results are amazing.
This came out looking like a nice 'n' tasty toasty marshmallow.

A scrumptious GhostBlue glaze with fantastic optics trapped in the surface breaking off the rim. The photo series from this shoot doesn't do this glaze combo justice. This series is gorgeous!
I love the new GhostMoth stencil. I cut a stack of 32, but I've already used up nearly all of em.
I live for the small victories!

BUT...
Like I was saying... so with all the success there was still a downside. And of course it was a big one. I had decided to try using shallow trivets with some of the cups to catch any glaze that might roll off the surface. I thought a few cups and their glaze combos might be susceptible to a little running. I had a hunch for a new solution and I needed to try it out.


I was WRONG.


The shallow concave of the trivet vitrified it self to the cup at the point of contact...
The edge of the foot then broke nicely away, creating a full set of beautiful 2nds...
And so ends my day of "Doh!"

Thursday, September 18, 2008

BudVases, SteamGears, and Canisters...Oh my!

It's been a week of throwing and slip decorating an assortment of cups and bud vases to round off a kiln load of bisque that I've been anxious to fire off.

This includes the test SteamGear Cups from last weekend and a few requested Bud Vase prototypes for the new owner of San Francisco Floral in Stockton as well as a few large faceted canisters to show at the local farmers markets.
I rushed a few of my thrown and altered budvase prototypes through the drying process and payed the price... Cracks!

Doh!

The kiln was loaded and successfully fired off Friday night despite a 2 hour blackout for our neighborhood halfway through the firing. The finished bique looks really good. I can't wait to see how these cups come out!


Today's agenda is to clean and check the bisque ware, mix and screen the glazes, prep the glazing area, wax the galleys of canisters, and scrape & kiln wash the kiln shelves. All this is to get ready for glazing tomorrow, (time permitting).

Tuesday, September 16, 2008

SteamGear Cup Part 2

This is a video shot last night in the studio as I worked on testing this series of stencils. Sometimes these just don't work as well in real life as they do in my head. The gear designs worked really well though, they laid down well on the compound curved surfaces up the cup without bunching up and they nicely fit into the space. Whoo ho!

This is the process of applying the newsprint stencils to the surface of a freshly thrown cup that's still attached to the wheel head. The stencils are adhered to the surface by spritzing the surface of the cup with water and laying the stencil in place. A gentle pressing with a damp sponge sets the stencil in to place.

A contrasting colored clay slip is then sponged over the entire design. This slip was colored with cobalt oxide, this will fire to a wonderful blue that will influence any glaze that applied over it.

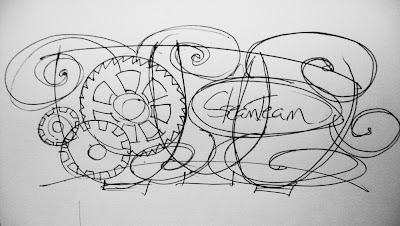
Now I can set back an get a feel how the new stencils have worked. I'll cut a foot on the bottom after it stiffens overnight.

Monday, September 15, 2008

the San Joaquin Potters Guild

This is a shout out to all my Guild friends here at home in Stockton. They are some of the most supportive friends an artist could have. Thanks everybody!

Check out their new blog! SJPottersGuild.blogspot.com

Sunday, September 14, 2008

Cutting New Steam Gear Stencil Designs

This is an idea that's been bouncing around inside my head for the past few weeks. It's a geared and steam motif design for a small experimental series of cups and canisters. This project uses the strategy of using cut paper stencils and slips to create compositions to be used as the base designs. After the pieces are glazed, they are then enhanced with a collage layer of home printed high iron decals that are then refired onto the finished surface.

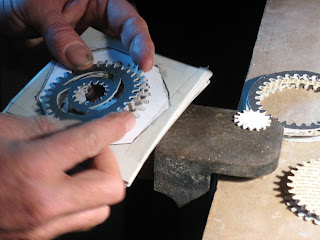
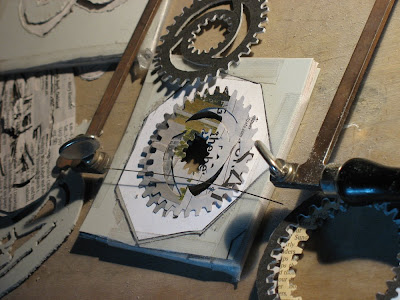
To create enough stencils to play with, I make a stack of 32 sheets of newsprint sandwiched between 2 sheets of thin plastic posterboard. The edges are taped up and a pos/neg design is rubber cemented to the surface. The design is then pierced with a thin drill bit to allow a jewelers saw blade to be threaded though and cut away the design.


The plastic on the exterior of the stack gives the stack a workable level of stiffness. With practice, imagination, and patience, you can get pretty noodley with your designs.

I like mixing and matching stencils to create my designs. I usually start off working to create a specific composition... just to see what it looks like. But after that though, the work turns to a pure freeform and organic style of composition.

This is where I get to fall into a nighttime groove... it's all about the Jazz... the surprises of a flow...it's where the racers happen...

Saturday, September 13, 2008

Sprigged Studio Hallmark

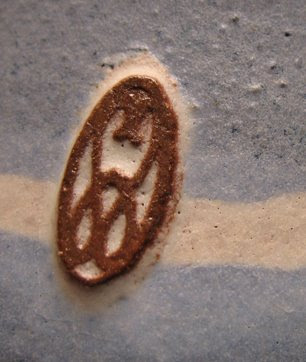
I've often been asked about this mark, but I haven't really made an issue out of it yet... This is my Hallmark, my stamp of quality. I've been officially marking my silver work and ceramics with this design since 1997. Although, I need to add, this hallmark has been used since 1989 when the studio was known as the UGA (the Under Ground Armory). This is my stamp of quality. I have not published any work without this work hallmark since 1997.
For anyone that's curios, this is Gemini image of 2 vines. It's part of my unofficial marriage tattoo scratched in 1989 when Abbe and I joined together. (It's really almost been 20 years now, Wow!)
For us, this hallmark has been our family meat tag. We were a young biker family, riding thoughout the Southwest. It was part of our family's history. Now, it's our family's Hallmark.


Pessed Ceramic Hallmark


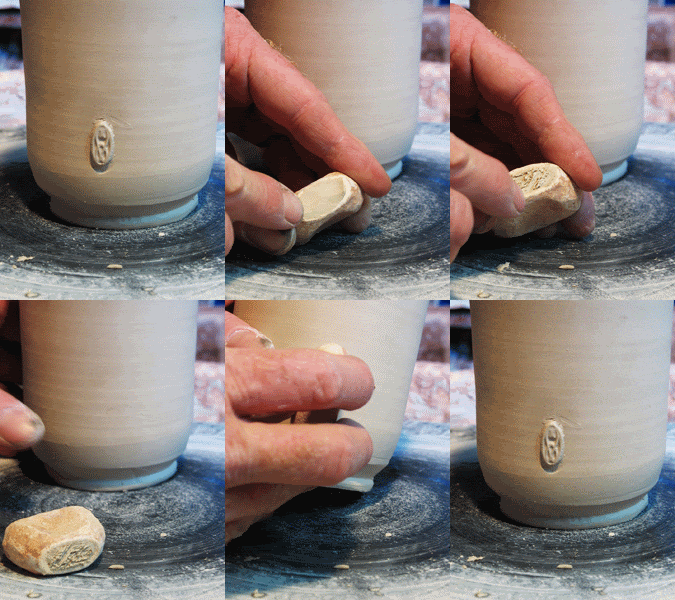
This is a simple bisque stamp that I use to sprigg my hallmark on to my ceramics.


Pack it.


Score it.


Score the surface of the piece.


Press the sprig onto the surface of the scored piece.

This is the finished sprigged hallmark on my studio's greenware.

Friday, September 12, 2008

Empresso Coffee House

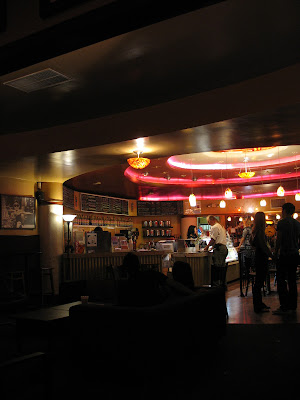
This is my local coffee shop on the Miracle Mile in Stockton, California and I love it! It makes an excellent dark roast and an excellent special drink that me and the kids LOVE... the Chunky Monkey. Yum! The fact that it's 100 feet from my studio's backdoor rocks!

It's at the end of my block and it's inhabiting an old movie theater lobby while the owner develops the rest of the building into a small collection of restaurants, bars, and a live dinner theater.

Part of the reason I'm swooning over this coffee house, is that, in the tradition of top shelf coffeehouses, they really support the local arts in the community by bringing in the Arts, with poetry readings, lots of great music, and they are very receptive to working with local artists like me.

This is the 2nd year that they've let me sell my seasonal Harvest Halloween Cups at the front counter and it's been a wonderful opportunity to mount a micro one man show for 7-8 weeks, rotating out works on a bi-weekly basis. This is has been a fantastic opportunity to promote my studio within my immediate community.

So far this season I've been presenting some of my favorite spooky cups. I've been showing the commons and racers that I've made this year. So far it's been very successful. I've really enjoyed meeting everyone and people are showing enough interest to keep me busy through the fall. In a small tight local market, small victories are significant victories.


Thank You Everybody!

Wednesday, September 10, 2008

Playing with Novel Formats for Etsy Listings


I started pasting together a handful of these demo pages last month using a few the spare photos Andor and I had taken this summer. I thought these paste-ups might be a novel addition to my Etsy shop pages and I needed to explore different ways communicating some of the processes I use to create my work.
This seems to be a recurring theme this year. In all the different venues I'm currently working with, figuring out how to show customers what happens in the studio seems to make a huge difference in customers perceptions and how they value my finished work.
I'll post a few of these on slow nights.

Tuesday, September 9, 2008

GhostMoth2

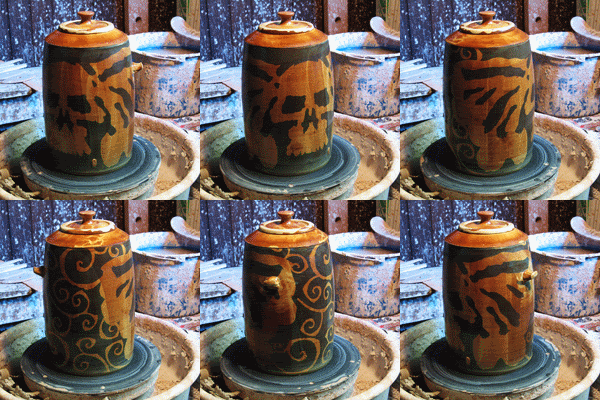
This small animated Giff is a new experimental format for me. I've been learning to create these to show works in the round. It's just a little looped Giff that I created and access from my Photobucket account.

Dreaming of GrandFather 2

Like yesterdays post, this is another large Halloween Treasure Canister that I've created for this years collection of spooky pots. My loss rate at this scale has gotten a lot better, but it still is too high. A few banes of the studio are cracks, blown bottoms, and glaze faults, these doom a lot of these larger pots to the shard pile.


Doh!
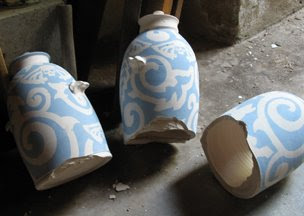
The bottoms of these three canister where reduced to rubble by steam explosions. Mental note: stilt large works if you've recently applied kiln wash. The bottoms can trap steam and pop dramatically. Cool huh?


DOH!
This bane is pin
holing. I've been throwing these larger works using recycled clay... it's got alot of organic matter in it. My kids call it "FootClay" cause, quite frankly, it smells like really stinky feet. Don't worry, all of this organic matter burns out at 2000 plus degrees when the clay vitrifies, but it does need time to soak at the upper end of the kiln cycle to finish gassing off and let the little glaze bubbles heal.

Monday, September 8, 2008

Large GhostMoth Senciled Slip Demo


If you are part of the Etsy community at large and are already familiar with FetishGhost Studios, you may have seen this canister and it's sibling being created over the past month and a half in postings on Flicker, IndiePublic, team sites, and videos on Utube.

As a recap, I've got to say, I LOVE creating these extra large treasure jars. This is the second year that I've been making these and they are... COOL! The neighborhood kids love them! It's really is an incredible technical challenge to cross the finish line with a gallery quality canister.

So...

This is a large floor canister. I throw these thick so they stay where they are put, withstand the abuse of life at foot level, and are cool enough to stash a Halloween night's worth of loot in. Say the word "go" an your critter will know where to look for desert for a good long while. My kids have stashed two around the house and the canisters really do add something spooky to the domestic landscape.

Perfect for my house.
Here is a quick 30 second video clip Andor shot of how I created the surface design on this jar.


TimeFlies Demo


Near the end of July, my son Andor and I began playing with creating a number of small studio videos to share with our friends and family, it's always fun to see what's going on in the studio.
This one is a stop motion video demo of the creation of a yunomi for my TimeFlies series. I really enjoy it, it's got a good rhythm and is short enough to pull a viewer all the way through once. The cup above is the finished yunomi seen being created in the video.
Check it out and let me know what you think.

Love in MoonWhite Blue


Before I move to far along, I wanted to post a few more yunomi from last Thursday's kiln load. These were a little R & D to test underglaze and glaze compatibility as well as ti see if I can just get it right. I like em! The next ones will be even better.

Sunday, September 7, 2008

Bone Orchard TeaWare


Well there's got to be a beginning, a place to start. Is this it?..... No, probably not. But this does have to start somewhere, so this will be it.

I'll save introductions for later and dive into what's been happening in the studio this week.

I spent last weekend throwing and slipping designs onto 9 more yunomi to add to my new BoneOrchard TeaWare Collection for the studio. I needed the smaller ware to help fill out the kiln load. Some of these are for a handful of local and regional tea & coffee shops and a few are for my friends on Etsy. Most of these are coming out of the kiln as Racers. I'm sitt'n happy with the smaller works, but there is a good many Larger works that are scheduled refires that have to go back through the fire this week. There's alot of R&D that has to happen this week too to get all the ducks lined up. Doh!