All right... it's started moving into the “it’s really cold, wet, and rainy” time of year for my studio. This is still Northern California so the temperature, at its best, generally is topped out in the middle of the day at 55 degrees, (and I count myself really lucky it’s this warm). This is the down side to working in an old Garagio. It really is cold… and work takes many, many days to dry, and sometimes… things freeze! So aside from the bit about things freezing, things are fairly manageable… I can boil water for my throwing bucket to keep myself warm… (that’s really nice….) the slow drying can be an inconvenience if you’ve got small work trying to dry, but it’s really nice if you have larger thick walled projects that appreciate being slow dried.
Or…. you can see if your friends will let you hang out in a spot in their toasty warm studios during the winter cold snaps. I like this option… they’ve got better hot chocolate, and... oh yeah… heating. Being a decent guest you might be expected to do a little wedging, maybe some trimming, definitely some story telling…. It’s all about that winter camaraderie thing.

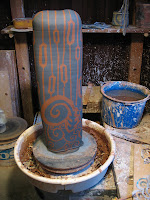
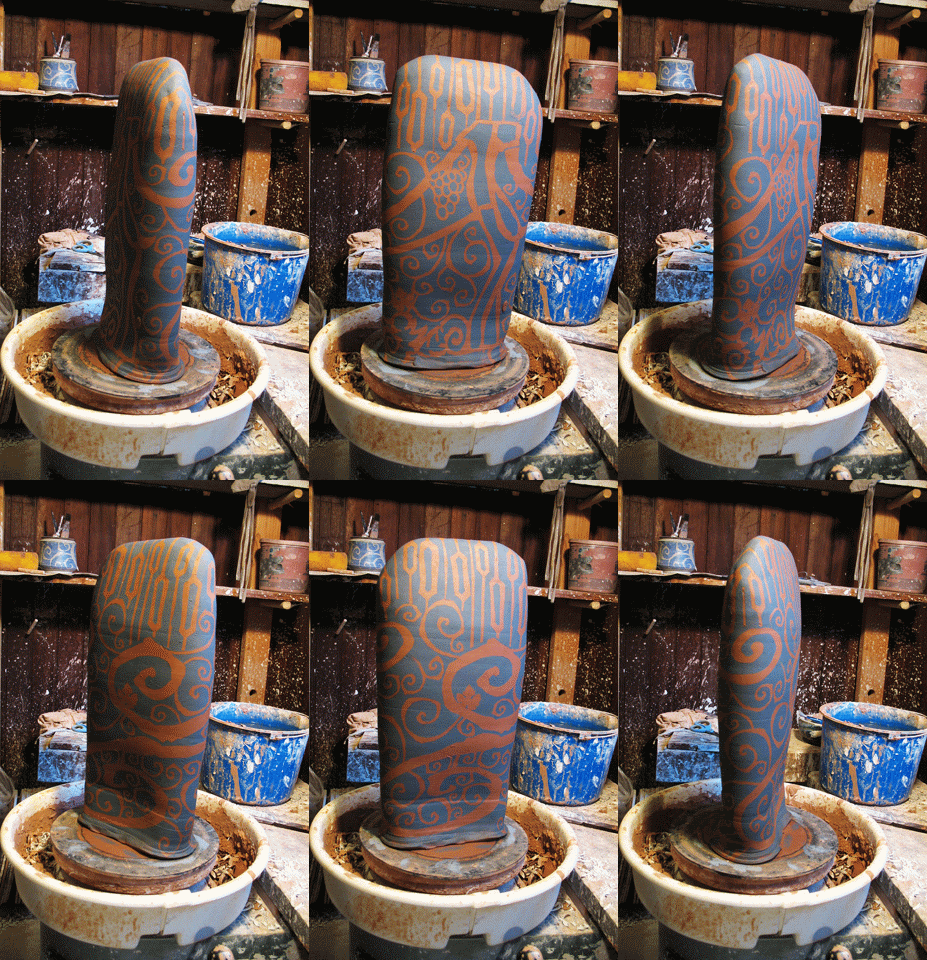
So I’ve been spending to past week getting started on creating a series of Cairns for this spring's exhibitions.

These are large(ish) decorative ceramic post markers, and due to their size and complexity, they can be tricky to get across the finish line in a stately manner… (Understatement). Luckily, they really like to be slow dried and they make use of a lot of the techniques I’ve been playing with this year.
For me, these forms provide a more sculptural surface for developing more complex narratives and they also provide a glorified test tile for exploring studio archenemy. This could get really fun… we’ll see… I’m hoping to pick through the results of this winters work and gallery mount a few finished pieces for spring’s and summer’s exhibitions. I guess we’ll have to see.
 ...
...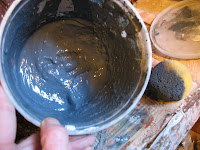
This is the cobalt slip
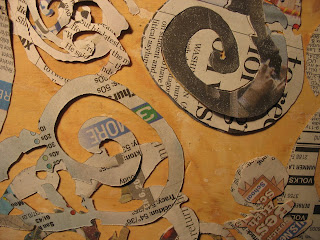
and a veiw of cutting the stencils with a razor blade.

This is the proposed slip & glaze combo I'm planning to use... it's a cobalt slip and MoonCrater White glaze.
 Working through the form....
 Applying the stencils & sponging on the slip...

 All most there...
 Hallmarked and now we let it dry S-L-O-W-L-Y...
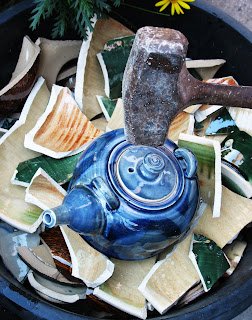 Swinging the hammer of judgment is one of the most anticipated yearly studio activities for a lot of potters.




 Now grab your trusty small hand sledge and just lightly pound the hell out of it. Like I said, my kids think this is hilarious.


 Applying the stencils & sponging on the slip...

 Hallmarked and now we let it dry S-L-O-W-L-Y...