Monday, January 5, 2009

Ahh! The Joy of Getting a Rocking New Yunomi

I wish you all could reach out and touch this piece.
I just got this in the mail from a new friend in the Bay Area who happens to be the artist and craftsman behind MossBeach.etsy.com.
This is an amazing soda fired yumoni with a fantasticly flashed and crackled slip exterrior that's compleate with "mineral tears" that oozed and harden on it's surface at the peak of it's firing, giving it a fun surface texture that feels really cool.

This is a potters cup. It's a true work of he(art).

Not only is he a top notch ceramisist, but he's also a pretty darn good writer too. I love a well worded explanation of what I'm seeing. Here's part of his discription for this piece...

This cup has a shino exterrior that blushes orange in proportion to the soda available in the atmosphere of the kiln. Where there is a particularly heavy hit of soda, the soda forms gray to green rivulets down the side of the cup. The Japanese asthetic of wabi sabi implies the imperfection, incompleteness, and impermanance of all things. These yonomi helps focus the owner on the uniqueness and beauty of the moment as they are held and used.

Hey Matt... You're the Man!
Thanks!!!

Licks, Love, & Luck...
-Zygote-

Friday, December 26, 2008

Smash Pot Day

Swinging the hammer of judgment is one of the most anticipated yearly studio activities for a lot of potters.

Some artists choose to just swing the hammer all year round, but I prefer to save up all of the messed up pots, setting them in the nooks and crannies of the firing room and garden.

I save them for a special day... SMASH POT DAY!


I traditionally save this special day for the end of the year, but I really can hardly wait to swing the hammer on this year’s accumulated ware. A lot of these pieces are gorgeous, but they have one flaw or another... a crack, a stuck lid, a glaze that ran off, kiln wash fired into the surface, the list goes on and on.

This is a ritual of necessity, ensuring the quality of any studio’s line-up. This year I’m happy to say I’m letting go a 140 pounds of fired work. DOH!


“Smash it up and plan for the next year”… that’s my motto.

Sunday, December 21, 2008

WinterVines Cairn

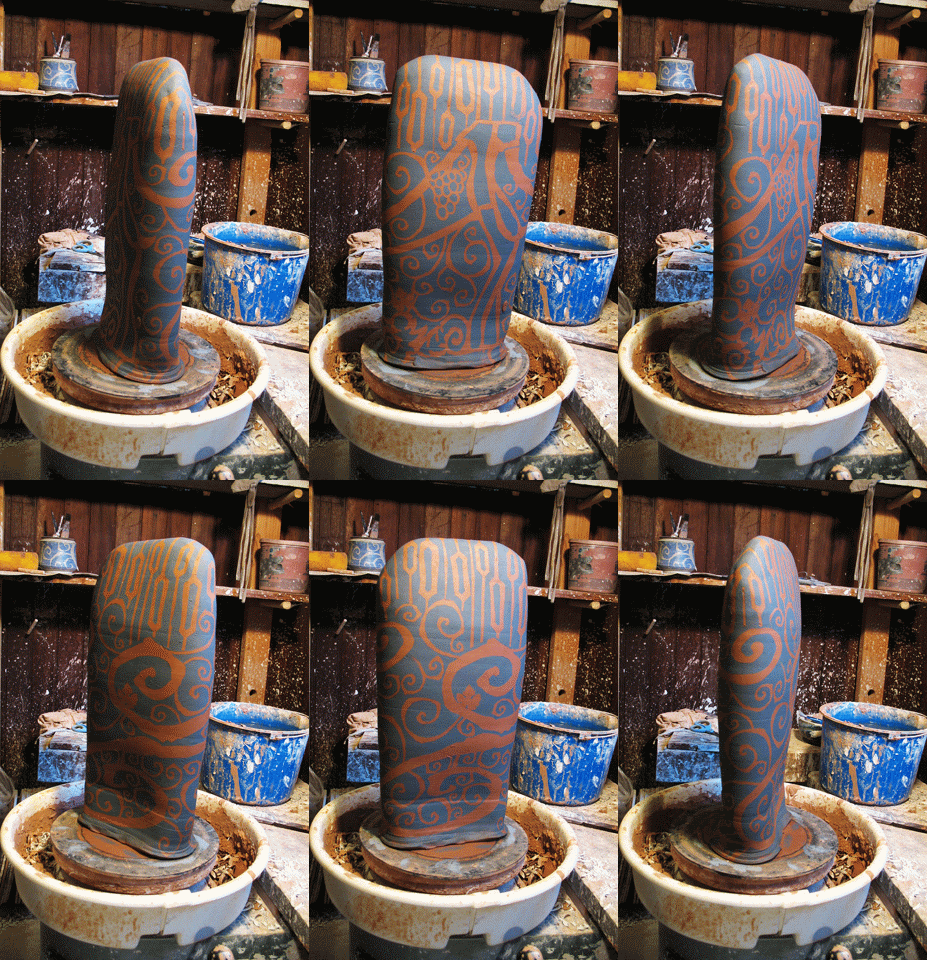
This is the second in the series for this springs first round of works for regional exhibitions. It's still got 2 weeks of drying to do before bisque firing and glazing. 2 cairns down, and 2 to go.

Friday, December 19, 2008

Meet my Studio Photographer

This is Andor. He's the studio photographer for FetishGhost and is working on learning to make good use of the support software needed to build and run an online storefront. A lot of what you see on this blog, he's helped produce.
I first drafted him to snap a few shots in the summer of 07. It was just something to keep him busy while school was out, but since then he's become an valuable asset to the studio, taking on the duties to help coordinate the shooting of demos and product shots.

OK, before everybody starts pestering me for his business card, I've got to point out he's just turned 10 last month. and my wife won't let me rent him out yet.

Thursday, December 18, 2008

Mixing Up a Simple Slip

Making a super simple slip starts with collecting up some of your trimming scraps from your current white bodied clay. You don't really need much... 300 grams is a good single batch amount to play with for starters. Multiply that by whatever number you might have in mind to experiment with other oxides and stain mixes.

Here comes the fun part... my kids joyously referred to this particular chore as "let's whack Daddy!" They volunteer for it every time and quite frankly, it's got me rather nervous, but it's got to be done so get whackn!

For this chore I use an old pair of blue jeans, (I know you were saving a pair for something like this). Just load up a leg with a manageable amount. You'll figure out how much is enough pretty quick. Special note, if you pack it too full your crotch will pop... really messy.
Now grab your trusty small hand sledge and just lightly pound the hell out of it. Like I said, my kids think this is hilarious.


This is still pretty chunky, but it'll work just fine.

At this point I feel I should point out another advantage of using crushed clay to make your mix... it's a lot easier to get an accurate weight ratio of clay to colorant you'll need.

I like strong colors, so I multiply the weight of my crushed clay by 5% to 10% to get the weight needed for my oxide colorant. Commercial stains seem to like the 10% to 15% ranges. It's really up to you how strong you like your colors. This is where you get out those test tiles and experiment.

Slowly add your crushed clay and oxide mix to the water. Keep at it, slowly building up an island in the center. The island will subside below the waterline as it pulls water into the mix. Keep adding your crushed clay mix until it all in there. Kind of give the tub a small shake to collapse the island one last time, and let the mix slake overnight. In the morning, just pour off the excess water and stir well and "Voila!" A simple slip.